Posted By
14 Sep
0 Comment(s)
12233 View(s)
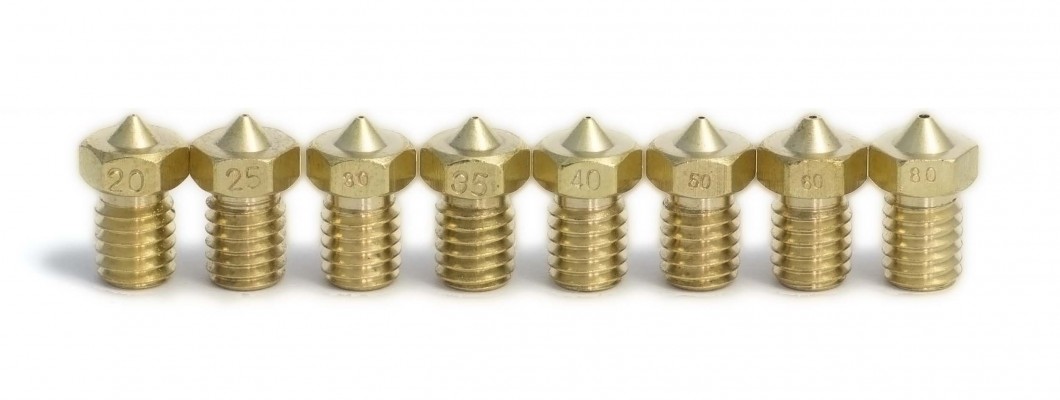
Our 3D printer, as every machine, needs a maintenance. One of the most basic ones is the change of the nozzle of our hotend. We may need to change it for several reasons, as for example, needing a smaller or bigger diameter (as bigger diameters are better for resistent parts with few details and fast printings and small diameters are better for small models with high resolution and details) o substituting it for a new one.
The change of nozzle is a simple and easy process that requires to be done carefully and following this steps:
- Heat up the hotend to the maximum working temperature of the material and remove the filament.
- Turn off the printer using the switch or disconnecting it from the electrical supply.
- Without waiting for the hotend temperature to decrease, hold the heater block with a spanner or wrench, and unscrew the nozzle with a sppaner of its size (No 7).
Once the nozzle is removed, we proceed to place the new one.
- Turn on the 3D printer and heat up the hotend temperature to the step 1 temperature.
- Turn off the 3D printer again.
- As at step 3, hold the heater block and place the new nozzle. It must be screwed tight but not too much in order not to damage it.
We have to make sure to perform this last step with the temperature of the step 1. We can heat it up and cold it down again and press (we must never press when the printer is on).
Points to consider:
- We have to be very careful and not touching any wire or component which has not been mentioned. By proximity, we have to pay attention especially on not touching the hotend heater neither thermistor.
- End this process with the printer turned on, in order to avoid the heat of the heater block raises in excess through the heatsink. Turn it off once the temperatures have been stabilized.


Leave a Comment